Friday, May 2, 2014

Sesame roast chicken

I got this recipe from my MIL who got it from her ethnic Chinese-Vietnamese friend.  I have tweaked it with a load of sea salt and to make it quick & easy.  I don't even bother marinading.  I use leg quarters instead of butterflied whole chicken (culturally we prefer dark meat; it's more flavorful, fatty and nutritious.  Only in the breast obsessed USA does one find bioengineered, factory farmed chickens who are so top heavy they can't walk or breed.  

I call this my "oven-fried chicken" recipe because when the fat renders it leaves the skin this perfect crispy texture while the meat remains moist and tender.  My daughter and her dad love to eat the skin, the cartilage, the marrow, and some bone.

I make this almost weekly.  And one of these days I will take some photos.

Variations include using real olive oil, lard, or avocado oil and using various seasonings/herbs.


Ingredients:

  • 6 organic chicken leg quarters (can use a butterflied whole chicken)
  • 1/4 cup toasted sesame oil
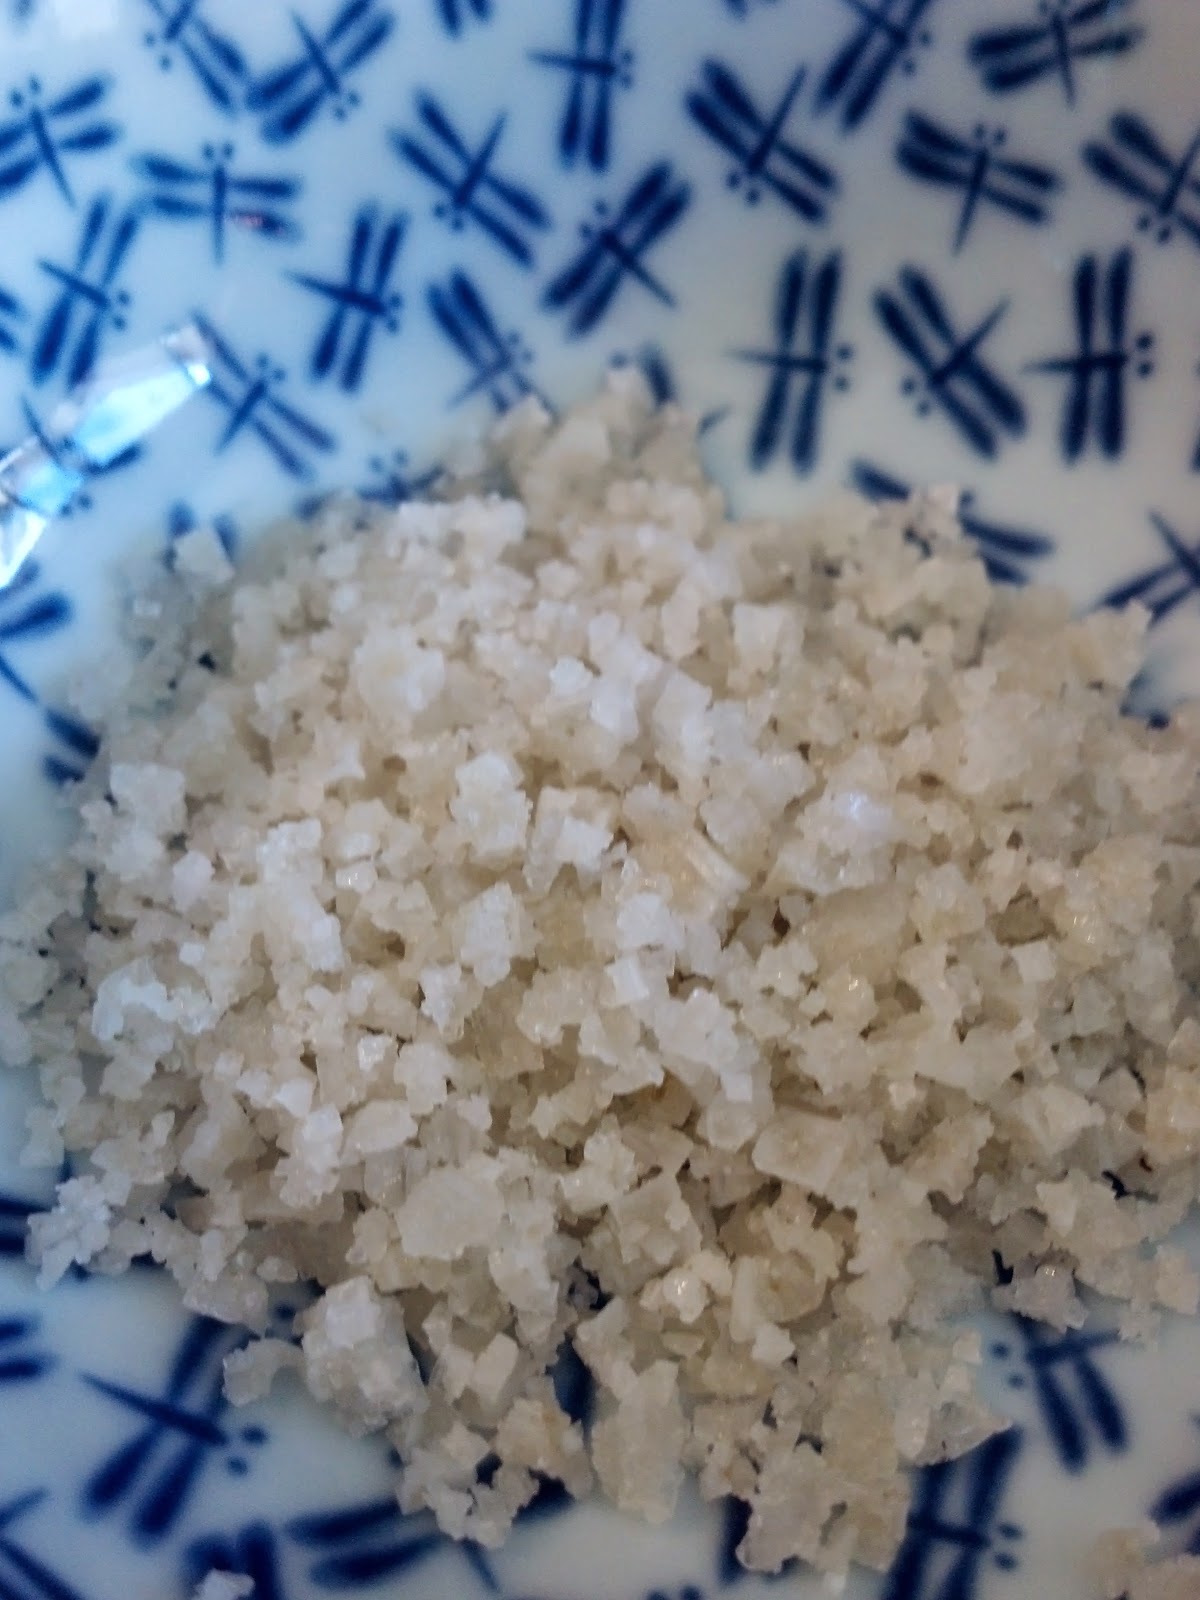
  • lots of sea salt (can use white/bleached sea salt, or mineral-rich grey salt)
  • optional organic garlic powder/minced

Equipment:

  • roasting pan with a rack
  • wide aluminum foil or parchment paper
  • baking dish
  • silicon marinade brush

Preheat the oven to 470 degrees F. 

Line a roasting pan with foil or parchment paper to catch the grease and insert the roasting rack.  Pour in a 1-2 cups of water so there is a thin layer.  This prevents any burning/smoking.

Fill a square baking dish with the sesame oil.  Dip the leg quarter in the oil and coat any  missing areas using a silicon marinade brush.

Lay the leg on the rack and generously coat both sides with sea salt.  The sea salt keeps the meat moist, helps render the fat/moisture for extra crispiness, and through baking osmosis it is pulled into the meat itself making the meat as  flavorful as if it were brined.  So use more sea salt than you think you will need.  do not fear the sea salt.  If it ends up being too much, you can just crack the salt crust off or take off the skin.

Add water to the roasting pan below the level of the rack to prevent burning/smoking. Roast for 40-50 minutes until the skin is crispy and rendered.  If I am dealing with bigger legs, I will use the last 10-15 minutes to broil it.  You can use the drippings for gravy/au jus if you like.

Allow to cool and shred the chicken while it's still warm and pliable.  Reserve the bones, cartilage, and fatty skin bits for broth/soup (basic recipe here).  Shredded chicken can be used for stir-frys, soup, salads, wraps, spring rolls, etc.  Done this way a chicken can be stretched for 3-4 meals making it actually efficient to buy organic chicken.





Ăn Ngon Lành|Eat Delectably!

Fruit syrup recipe (sugar alternative)

After being completely sugar-free (including refined sugars, raw honey, & fruit) for almost a year to restore my blood sugar balance back in 2012, my palate has shifted and I have a very low tolerance to sweetness.  Although I've reintroduced fruit, then raw honey/unrefined sweeteners, then rarely, some refined sugar, I find that I have a very low threshold for sweetness and I cannot tolerate most refined sugars including all cane/beet, agave, sorbitol, erythritol, etc. and I just don't like stevia.  Coconut palm sugar and palm sugar (non-coconut bearing species) is one of the only (minimally) refined sugars that I can tolerate because it does not spike my blood sugar in the way most refined sugars do. Back in March, I watched pediatric endocrinologist Dr. Robert Lustig's TED talk (20 min) where he lists the 56 names of sugar (his longer groundbreaking 90 min talk here).  While coconut palm sugar was not one of the named, it still is a minimally refined sugar produced in a manner similar to agave or even maple syrup.  


The 
The short attention span 5 minute version: Dr. Robert Lustig on The Colbert Report 

Coconut palm sugar has also been criticized as being "another agave syrup", not being a sustainable industry since any coconut palms used for sugar will not produce viable coconuts, and not traditional in the Philippines.  Other Southeast Asian countries do make use of coconut palm sugar.  I proceed with caution.  Frankly I don't know enough about the industry.  I use both đường thốt nốt | sago palm sugar and coconut palm sugar very infrequently and have created a very low glycemic index fruit syrup alternative. 


In looking for a whole food, low glycemic alternative sweetener, I was inspired by the date syrup recipe in The Dairy-Free & Gluten-Free Kitchen.  But in reviewing the actual sugar content, I noticed that dried dates are very high in sugar, as are my previous ingredient choice, dried figs.  Dried apricots and dried prunes are much lower in sugar content by contrast.  So I suggest a syrup of organic unsulfured dried apricots or organic additive-free prunes as a substitute.  I've revised previous recipes that were made with fig to apricots or prunes.

Faux Cheezy-cake with apricot syrup topping

Ingredients:

  • 1.5 c hot water
  • 1 cup organic unsulfured dried apricots or organic prunes
  • 1 tsp lemon juice
Blend water, dried apricots or prunes, 1 tsp lemon juice.  Cool and store in an airtight glass container.  Keeps for 1 week in the fridge.


Also, check out Sudney Mintz's groundbreaking social history of sugar, Sweetness and Power: The Place of Sugar in Modern History which traces the rise of sugar from a precious royal commodity to a working family's common staple.

Ăn Ngon Lành|Eat Delectably!

Thursday, May 1, 2014

Dưa Cải Chua|Fermented mustard greens

We can pickle that!
1.5L Kilner, Day 3

I first learned how to make dưa cải chua | pickled mustard greens by calling up my mother a few years back.  Her recipe though called for white vinegar and sugar which is not a true ferment dense with natural probiotics.

Wanting to have a fermented greens rich with probiotics, I turned to the internets.  
I found this real foods recipe from Garden Betty and tweaked it to suit my tastes (northern so not spicy and despite being cured of my onion allergies, I still don't love the flavor of raw onions), and I use mineral-rich sea salt rather than bleached/processed pickling salt.  I also don't use her baggy method of weighting since 1) chemicals in plastic such as BPA are endocrine disruptive toxins, and 2) it's not sanitary.


I get my mustard greens from the Asian market or the farmers market since we don't grow it (yet).  Most Asian produce is pesticide-free and not GMO. 

L to R: Fido 5L, Kilner 1.5L, Ball 2QT, Fido .5L, Ball 1QT

You can reuse any old jar or mason jar, however ferments build up pressure as they release gas so you will have to open the lid daily to prevent an explosion.  Salsa jars and kimchi/kimchee jars are better designed to deal with fermenting gases and are preferable to a mayo jar. If you've ever opened a kimchi jar to have it volcano erupt on you, your counter and your clothes, you will come to value an airlock; ferments are not a seductive odor. I've noticed with jars, the veggies are not airtight and therefore go sour faster.  If you are into acquiring ferment specific kitchen gadgetry, at the low end I would recommend an Italian Fido jar that has a clamp which allows gases to release (self-burping) and is airtight (Kilner is another okay UK brand but it's not quite as airtight and it leaks more).  Now that canning is making a comeback, you can frequently find these airtight clamp jars at lower prices in Marshalls, TJ Maxx, Homegoods type discount stores.  (Note: they must indicate they are for home preservation, not just storage or decorative use.  The Ikea clamp ones are not airtight and not suitable for fermenting for example.)  You can get Fido jars and extra gaskets (very important) inexpensively throughout Crate & Barrel Outlet.  For the DIYers, you can make your own airlock ferment jars from mason jars; I've never tried this myself.  This blogger conducted a science experiment to determine which was the best way to ferment.
5L Crock, weights, and búa
(SE Asian pestle)

For those who ferment more frequently or consume more, at the high end, you can get an airtight fermenting crock (Fancypants store William Sonoma has this and so does my favorite Amish homesteading store Lehman's).  I just got my first one, a Boleslawiec, I bought through an HMN member temporarily based in Poland.  It has a water gutter to allow gases to escape and keeps air out.  Crock weights I got from William Sonoma and the pestle I picked up at the Asian market sometime back.  The ones specifically for fermenting are called sauerkraut cabbage crushers and I'm sure are more expensive.


(FYI I am not affiliated with any of the aforementioned stores or companies.  This is my personal opinion.)


Ingredients:

  • 3.5 pounds mustard greens
  • 2 tablespoons grey salt (or 1.5 tbs himalayan salt)
  • plus hot water & 1 tbs grey salt for brine


Materials:

  • 1.5L or 2 QT jar
  • (optional) a wide mouth funnel
  • rock sterilized in boiling water
  • a pestle, cabbage crusher, your fist & forearm


The traditional way of washing greens uses less water than letting the faucet run.  Fill a bucket or large bowl with water and submerge the mustard greens to wash them.  Plunge the greens up and down to get the water sloshing; the dirt and sediment sink to the bottom.  Rub your thumbs across the inner stalks to remove any dirt.  Remove the greens and compost the water lightly rinsing any residue off the bucket.  Repeat at least once more until clean.

Drain the greens in a colander.  In the ideal world, you would be patient enough to dry them either spread out in the sun or by air dry.  Sometimes, I just salt them somewhat damp.  In the future, I think I will use my food dehydrator to quickly dry the greens which along with salting helps the cellulose to contract making for a crunchier pickle.

Chop up the mustard greens and toss with 2 tbs of grey sea salt.  Let this sit for at least 30 minutes so that the water can release.  If you shortcut this and the greens don't have time to absorb the salt, the mustard greens will be mushy.


While the above two steps are taking place, prep your jar.  With any container, I recommend pouring boiling water over the inside to kill off any mold spores or undesirable bacteria.  

When the greens are ready (bright green, salt is dissolved), put the greens in the jar.  Use your hands to handle the greens to colonize it with the good bacteria from your own micro-biome (that's not just love in your momma's cooking, it's her bacteria!) and build/boost/share your immunity.  Pour the juices into the jar as well.  If it's not enough to cover, make a brine of 1 tbs sea salt dissolved in 2 cups hot water and then cooled to a  tepid temperature so you don't cook the greens or kill the good bacteria.  You need to keep the greens below the waterline to avoid spoilage.  Tamp it down (I use a búa--a Southeast Asian wooden pestle that I picked up for a few bucks at the Asian market a few years back); you could also use your clean fist (rinsed clean, not soaped clean; don't kill off your friendly bacteria!).  Use a weight or a rock to keep the greens submerged.


Note the overflow froth
at the clamp of the Kilner.
Also if the greens are full up to the top, place the jar in a rimmed dish to catch any liquid overflow as it burps.  I always forget this step and the worst was when i made sauerkraut with purple cabbage.  It looked like the Smoochy the Rhino got shanked in my pantry cabinet. (Death to Smoochy clip below.)

Store the fermenting greens in a cool place such as a cabinet.  Check it every few days.  If you smell mold or it's discolored, it must be dumped.  So keep it airtight and the greens under the waterline!  Also, open slowly, contents under pressure!  Greens will be ready to eat in about a week, but if left 4 weeks, it will continue to ferment and develop optimal strains of probiotics.  You can refrigerate after day 28 if you wish however the fermenting is complete (keep in mind fermenting is preserving so it should be shelf stable as long as it is airtight and below the water).

Dưa cải chua is typically served with other pungent sweet-salty dishes like caramelized fish or caramelized pork.


In case you didn't know, the new sports drink is pickle juice.  Like whaaat?  
  • H2O--check
  • Sodium--check
  • Electrolytes--check 
And if it's a real ferment (not made with white vinegar) then it's got probiotics.  Great way to rehydrate.  I think the ferment juice from dưa cải chua would be... special.


BONUS RECIPE

Dưa cải chua xào thịt | Pork & pickled mustard greens stirfry


My stepdad also makes this great dish stir-frying it with thịt heo quay | BBQ pork or with fresh, tender pork.  I'm not sure of the origins of this dish but it's not something you will find in a restaurant.  This be some soul food.  I think there's some Sinic influence as the only other time I've had it outside of my parents' home is at a Ngai Hoa funeral (subethnic Chinese in Vietnam) for my friend Tuyền's father.

I had a hankering for it the other day and stir fried it with some bacon because that is the pork I had on hand.  This is probably a little on the salty side, but sea salt is dịu or less harsh/salty than regular table salt.  The fat complements the tangy, briny bite of the mustard greens.  Pork works best, but you can use other meats but choose a fatty meat/cut like lamb.  I suggest stir frying with pasture-raised lard (yes, lard) and a little bit of freshly ground black pepper.  If you don't have lard, (untoasted) sesame oil or coconut oil would suit.  If you like it spicy, add chile peppers.


Ingredients:


  • fermented mustard greens
  • pork or fatty meat
  • lard or neutral oil
  • fresh ground black pepper
  • optional chile peppers
Sauté the pork with black pepper and chile in a skillet or wok until partially cooked.  Add the pickled mustard greens and sauté until warmed.  Serve warm over rice.

Ăn Ngon Lành|Eat Delectably!


corn-free, glutamate-free

Over the last couple of years in my journey to wellbeing, I've come to accept that healing my body doesn't mean I get to eat whatever I want.  When I eat crappy food, I feel like crap.  Hence my avoidance of my main triggers--processed foods, wheat/gluten, dairy, refined sugar, caffeine, and soy.

Last month, I attended a talk for the Holistic Moms Network on "Additives & Mental Health" by biochemist Dr. Katherine Reid.  After reviewing 1 million research articles correlating glutamate with a variety of chronic and auto-immune diseases, Dr. Reid concluded that Americans have an overabundance of glutamates in their diet primarily from processed foods; this isn't just MSG, but glutamates in all their secret iterations.  I learned that processed proteins (includes meat, grains and legumes) release free glutamates.  So the dairy/wheat intolerance connection is that through processing (homogenization or milling), they both release free glutamates.  This is the smoking gun for dietary intolerance.

I was also surprised to learn that the popular "natural" preservative citric acid does not come from citrus but is chemically derived from corn.  


That was the push I decided we needed to go corn-free again (I was briefly corn-free the year I got pregnant with my daughter).  Since we don't eat much in the way of processed foods, I assume it won't be too hard. Our main corn intake comes in the form of non-GMO corn tortillas, organic tortilla chips, organic popcorn, and infrequently, nixtamal made from homegrown native corn.  I've observed that eating homemade organic popcorn makes me irritable and bloated, most likely from the indigestibility of non-alkalinized corn but now I'm thinking glutamate connection.

I've been trying to figure out why my daughter has been getting sick every 2-3 weeks this winter.  In previous years, there was a clear correlation with wheat.  Once we cut it out, her nighttime congestion cleared up.  

My MIL bless her heart came over the other day with homemade bánh giò|tapioca dumplings wrapped in banana leaves and cơm gà|chicken & rice and sầu riêng|durian just as I cooking up a toothsome sweet potato, kale, and bacon frittata for lunch.  My daughter will choose Vietnamese food over Western food and went for the  bánh giò.  She only ate the chicken filling and left behind the outer dumpling so I ate it for her; I later found out was made from tapioca and cornstarch rather than the traditional rice & tapioca starch.   A short time later, I noticed a rash on my left inner elbow--miliary dermatitis but didn't pay much attention.  By the evening I had a generalized rashiness in my bloodstream (an itch below the skin that cannot be scratched or localized), digestive upset and accelerated hunger despite eating meals.  So I made the connection to the cornstarch (perhaps an anti-caking agent/dough conditioner or perhaps just the processing releasing glutamates).  I drank some nettle infusion and took a probiotic.  I experienced a relapse of symptoms in the night;  I woke up at 3am hot & sweaty, hungry and digestively uncomfortable.  This used to happen every night but had abated over the last few months when I upped my hydration and come to think, when I stopped relying on tortilla chips for snacking.

So there you have it.  There is no magic test one can take, no owner's manual one can read to figure out what ails one.  One has to overcome decades of socialization around ignoring one's body cues to relearn how to pay attention to the signals one's body sends in direct response to input (food, air/breath, water, sleep, environment).

And yet another thing to add to my dietary parameters/intolerance list (see masthead above).


Ăn Ngon Lành | Eat Delectably!


Wednesday, April 30, 2014

Chinook Salmon Poke


Though I was born in Hawai'i, I didn't have poke (Hawaiian raw fish, pronounce poh-kay) until I was an adult.  By far the two best poke I've ever had was the Costco in Lihue (really!) and the sea asparagus salmon poke at Overland Meat & Seafood in South Lake Tahoe.  Makes me want to go forage in a salt marsh!

Local, wild sustainably caught
Chinook King salmon
When my friend Lenore offered to coordinate a buying coop from a local sustainable fisherman last year, we went in for a whole Chinook King salmon which I filleted myself; i lucked out on getting 15 lbs of everyone else's scrap pieces which included bellies.  The head, collar, and bones made for a nice canh chua (tamarind soup, recipe forthcoming).  We reserved some of the fillet and the belly (toro) for poke.  (Other scrap pieces went to the cats and they were sleek and silky for days!).  

I made poke for the first time last year and it's become my daughter's favorite food; she refuses to eat cooked salmon anymore, more's the shame, so now we cook all salmon rare.  It's April and Chinook King salmon are back in season which means BREAK IT DOWN: STOP, POKE TIME!  


As far as seaweed goes, I prefer sea asparagus (actually a sort of salt marsh succulent)--which can be eaten raw or blanched--and/or wakame.  I happened to have hijiki on hand which works fine; the texture almost as crisp as salicornia, but the taste is a little more "earthy" than other seaweed.  When I buy dried, I go by the picture and choose a seaweed that is in a salad or dry dish over soup seaweed.

Note that "sushi grade" is not a regulated designation.  To avoid contamination, source only fresh wild-caught or sustainably farmed fish from a reputable, sustainable fishmonger and freeze at least 12 hours to kill bacteria and parasites.  Thaw the salmon in the fridge for about 4 hours.  Cut while it is still icy, but pliable.  I've substituted other ocean fish like halibut or swordfish as well.

Ingredients & tools
I picked up fishbone tweezers from Daiso (The Japanese "yen" store where everything's $1.50) to pick out any pinbones   And I eschew our expensive Chicago cutlery knives in favor of my trusty Thai-made Kiwi knife (under $3 at the Asian market) which just stays sharper.  Kiwi knives can be sharpened the old school way using the bottom of a ceramic bowl or with any knife sharpener.  (Also, my aesthetic aspiration is one day, my bowls will all match.)


Ingredients:
I like the briny pops of coarse grey salt.
  • 1 fillet of salmon (~1.5 lbs), semi-thawed
  • 1 cup kelp (wakame/miyeok, hijiki,etc) or sea asparagus (salicornia)
  • 1 large hass avocado
  • 3-4 tbs toasted sesame oil
  • splash of rice vinegar
  • coarse grey or celtic sea salt
  • 3 tbs toasted unhulled sesame seeds
  • optional 1 tsp kombu powder
  • optional splash of gunmaijen sake
  • optional kanzuri paste (see comment below)*


If using dried seaweed, soak it for 30 minutes in room temperature water until reconstituted.  If using fresh seaweed, rinse thoroughly.

Use the tweezers to remove any pin bones.  Remove any skin.  I do this my laying the fillet skin side down. I slice down along any whitish tissue (on the left of the fillet pictured above) along the dorsal fin side removing it from the fillet without cutting through the skin.  Then I slice horizontally as close to the skin as I can.  Reserve the salmon skin.  Cube the salmon into 1/2 inch squares and put into a bowl.


Chinook wakame poke for lunch!
Drain the seaweed in a colander, rinse, and squeeze out the water thoroughly.  Add to the salmon bowl.

Cube the avocado and add to the salmon bowl.


Add toasted sesame oil, kombu powder, and 2 tbs of grey sea salt and toss together until mixed.  Cover with a plate and refrigerate for 20-30 minutes.


Just prior to serving, add sesame seeds and another 1-2 tbs of coarse grey salt to taste.  Mix thoroughly.


Serve with kanzuri paste* as a condiment so folks can customize the heat factor.  


Poke can be served over salad.  My daughter likes to roll them up in korean toasted laver (kim) with brown rice and eat them like little kimbap/sushi rolls.


The remaining salmon skin can be cut into strips and lightly brushed with sesame oil and fried til crispy.  Sprinkle with sea salt and eat as you please.


Ăn Ngon Lành | Eat Delectably!

Pokemon slow jam


*Kanzuri (かんずり) is a fermented paste of red chili / chile pepper, rice malt (koji), yuzu and salt produced in Niigata, Japan.  The peppers are harvested, salted and left to begin fermenting in the snow, then they are mixed with the other ingredients and aged for 3 years to produce the finished paste. It's difficult to find stateside and I haven't seen it online at all.  Marukai Market imports it.  It's expensive and a little bit goes a long way.  It adds a bright citrus and japanese pepper note to the dish.  Yuzu paste is easier to source by contrast and would make an acceptable (very citrusy, not spicy) substitute.  Or you can use your choice of chile pepper flakes.  I favor Frontier organic chipotle powder myself, smoky is always a delicious note.   I also use Organic Harvest Foods chipotle habanero hot sauce because I love chipotle.


Thursday, April 17, 2014

Sprouted hummus recipe

[Caveat: Not a Southeast Asian recipe]  Like many urban West Coast folks, I love hummus.  Hummus became my go-to snack three years ago when I was trying to stabilize my blood sugar.  I found that store bought hummus (even the expensive artisanal, locally made hummus I got from Whole Foods Market) is too tart for my tastes from the efforts to preserve it with lemon juice or citric acid (which is not derived from citrus but is a chemically extracted corn product that contains free glutamates).  So I started making my own.  At first, I used tahini, but it required going to a Middle Eastern market not typically on my usual grocery run.  Since I had limited energy, I bought sesame seeds.*  It's not that much more work and it's cheaper.  I use organic unhulled sesame seeds which have a slightly bitter taste although my picky kid doesn't notice.  If you don't like that, you can try sprouting or toasting the unhulled seeds (I've never tried) or using hulled/white sesame seeds.

  • 1 cup of garbanzos (aka chickpeas) soaked & sprouted or 1 can of organic garbanzo beans, drained & rinsed
  • optional 1 inch of kombu or 1 tsp kombu
  • 1 cup of unhulled sesame seeds or tahini/sesame paste.
  • 1/2 cup or so of real olive oil (I use MoonShadow Grove Mission Estate Certified organic EVOO)
  • 1 clove of garlic if you like it spicier, I use 1/2 tsp of dried garlic b/c my kid is sensitive.
  • 1/2 to whole lemon juiced (to taste)
  • grey or celtic sea salt to taste
  • optional paprika
  •  1/2 to 1 cup of water
  • optional pitted olives


Soak garbanzos overnight in filtered water.  Drain and use the runoff water for your garden.  Leave in bowl or colander.  Rinse and drain daily until it sprouts.  It should sprout by day 3.  Cook garbanzos.  I put it in a pressure cooker for 10-15 minutes with 4 cups of water with the kombu (helps to breakdown the indigestible carbs that make us gassy) and let it naturally depressurize.   If you don't have a pressure cooker, you can boil them in 5 cups of water and kombu for 3 hours.

Add all the ingredients except for olives to a food process and pulverize until creamy.  Add water until the consistency is right for you.  Add olives and pulse until minced.

Makes about 2.5-3 cups.


Ăn Ngon Lành|Eat Delectably!

*You have to have a food processor or powerful blender to puree the sesame seeds.